Construction
Drawing Tree

Retaining Disk
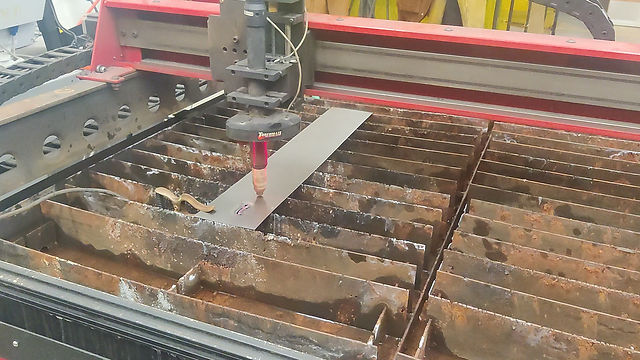
The Retaining disk was first plasma cut from a 16 gauged sheet of steel. Then the rough edges from the plasma cut were ground away. lastly the hole in the center was drilled using the drill press.

Finished Retaining Disk
Video of Plasma Cutter
Nose cone tip
The process for manufacturing the nose cone tip started with cutting a solid aluminum rod of diameter 1.5in to ~3.5in in length. Then the back end of the nose tip is lathed. Once that is done, the threads are dyed into the back. In order to lathe the cone shaped tip and preserve the threads, a tapped rod is screwed onto the threads. This rod is used like a handle to hold parts as its lathed. Finally the parts is sanded down to smooth the shape.
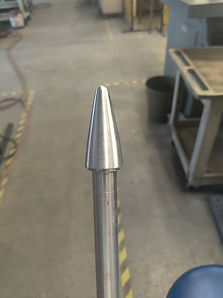
Finished Nose Cone Tip


Start of lathing
Finished back before threads
Rough lathed tip
Capsule
The capsule consists of several 3D printed parts and electronics. the electronics are house inside the capsule and attached using inserts that have been melted into a special printed frame. some of these parts use special water dissolvable support to allow a slow but risk free removal. Another advantage of this is if the supports are needed in a inaccessible location, they can still be dissolved by water.


Start of the long dissolving process
Central rods
The two central rods of the payload went through a few simple processes. both were first cut down to the appropriate length, 35in for the large rod and 14in for the small rod. to allow a slim fit for a number of parts, both rods were machined and sanded down slightly. lastly the small rod was tapped on one end.
Machined large rod


Tapping the small rod